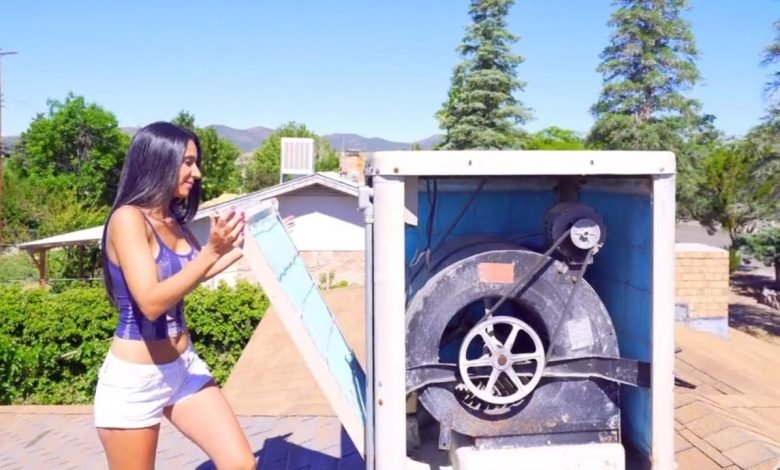
How To Install A Window-Based Swamp Cooler In Step-By-Step Form
A swamp cooler, also called an evaporative cooler, looks almost exactly like an air conditioner when it’s in a window. However, it’s a very different kind of cooler. An air conditioner uses refrigeration to pull heat and moisture out of the air, making the air inside the dryer. A swamp cooler, on the other hand, relies on water evaporation and makes the air inside more humid. This makes a swamp cooler a very useful tool in places where it is usually hot, dry, and not very humid swamp coolers.
Because the machine needs a water source, installing a swamp cooler is a little harder than installing an air conditioner. Some units have a reservoir that you can fill by hand, but a fully automatic one needs a dedicated water supply line. After you’ve done this, the rest of the job is a piece of cake, and most of the tools you’ll need are included with the unit.
Putting In The Water Pipe
There are different ways to hook up water to a swamp cooler. The easiest way might be to screw a 3/4-inch evaporative cooler valve onto the cooler’s inlet, screw a garden hose onto the valve’s male thread outlet, and then connect the garden hose to the nearest outdoor faucet. With this setup, you can turn off the water to the cooler, and in the winter, you can stop the hose from freezing by unhooking it from the faucet. As an alternative, and since the swamp cooler doesn’t need much water, you can connect a piece of 1/4-inch tubing to a pair of 3/4-inch swivel adapters and screw them onto the cooler and the faucet.
How To Put A Swamp Cooler Together
Step1: Put The Support Bracket In Place.
The swamp cooler’s weight is mostly outside the house, so the support bracket goes there. It usually comes with a cooler, so follow the instructions from the maker to put it on. It will say how far it needs to be from the window sill. Before driving the screws into the siding with a drill or socket wrench, use a 4-foot level to make sure the bracket is level.
Step 2: Open The Window And Put The Unit In Place.
Most swamp coolers are made to be put in vertically opening windows. Open the window all the way and, with the help of someone else, place the swamp cooler so that it rests on the bracket and windowsill, with the part that goes inside the room resting on the bracket.
Step 3: Put The Side Fins In Place.
Slide the edge of one of the fins that came with the unit into the track on the side of the cooler and open it up until the other end touches the window frame. Use two 1 1/4-inch screws to hold it in place, and use silicone caulk to seal both ends of the fin. Do the same thing with the fin for the other side. Close the window and use caulk to fill the space between it and the top of the cooler.
Step 4: Plug The Unit In, Connect The Water, And Test It.
Use the method you chose to connect the water supply, then turn on the water and let the reservoir fill up. When the reservoir is full, the water should stop flowing through a float valve in the reservoir. Plug the unit into a 120-volt GFCI outlet that’s only for it, turn it on, and make sure it’s working well.


