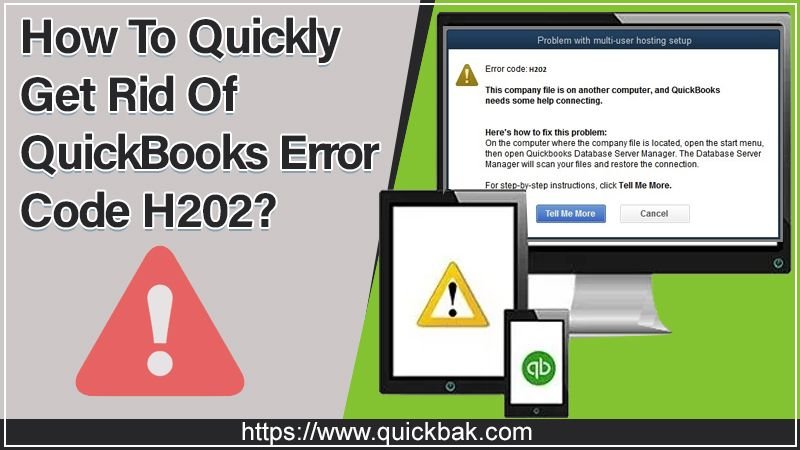
QuickBooks has proved itself to be a trustworthy companion for businesses. It helps them handle their finances efficiently, and that is what makes it all the more important. This software has got almost everything correct, however, like everything else, there is still room for improvement. This comes in the form of errors. One such example is the QuickBooks Error Code H202.
There are quite a few error codes related to the QuickBooks Error H202, and they share a somewhat similar reason and solution. This particular issue may bother users when they are trying to launch their company file, and this error prevents them from making progress in it.
Additionally, another situation where this error pops up is the multi-user environment especially if you are trying to work with a company file that is not located on your system. This error occurs if QuickBooks is trying to establish a connection directly to the company file, but they are simply unable to do so because of various reasons.
In this blog, we will cover the error code H202 QuickBooks in detail. We will also provide you with the various steps by which you can fix QuickBooks Error H202.
Resolving the QuickBooks Error Code H202
Method 1: Verify Hosting Process
As this error occurs majorly in the multi-user environment where one system (the server) serves as a host, you have to cross-check that only one computer has the hosting option enabled by following the steps below for each system or workstation related to the project except for the hosting computer.
- Launch Quickbooks, and then go to File > Utilities;
- You should be able to view the Host Multi-User Access option on the list which is displayed, it means that this computer is not hosting the company file and it’s safe to move on to the next system. Please ensure that you don’t change anything if you see this option.
- If you go to File > Utilities and then see the Stop Hosting Multi-User Access option, click on it, and it will prevent this computer from being the host, leaving only the host computer;
- Repeat this process on all the workstations except for the actual host.
Method 2: Check Whether Proper Services are Running
This solution and the settings mentioned that need to be tweaked are related to the server computer or the host which should have the option mentioned in Solution 1 enabled. There are a couple of services that need to be running at all times on the server system (QuickbooksDBXX and QBCFMonitorService), so we need to ensure they are.
- If you are using any version of Windows that is older than Windows 10, the easiest way for you to access the services running on your system is by clicking on the Start button, then navigating to the Run dialog box.
- Once launched, you need to type “services.msc” in the dialog box and wait for the list of services to open;
- If you are using Windows 10, you can also access Services by using the Ctrl + Shift + Esc combination in order to launch the Task Manager.
- Navigate to the Services tab in Task Manager and then click on Open Services which is present at the bottom of its windows, right next to the Gear icon.
After you have successfully launched Services,
- Locate the QuickbooksDBXX, this can be done by clicking on the Name column in order to sort the services in alphabetical order;
- After this, you need to right-click on the Service and click on Properties.
- If the status reflects Stopped, you have to click on the Start button located in the Properties window before proceeding;
- The next step is to click on the recovery tab, locate the First failure option and choose to Restart the Service;
- This option ensures that the service will restart automatically if performance fails.
- Repeat the same for Second Failure and Subsequent failures..
Method 3: Launch the Network Ports QuickBooks Uses to Transmit Data
Firewalls prevent QuickBooks from accessing the Internet properly. This is a major concern. Multiple firewalls may be installed on the system but it’s not recommended to use more than one. Let’s take a look at how to ensure that QuickBooks files are not getting hindered by Windows Firewall:
- Launch Control Panel from the Start menu and click on System and Security >> Windows Firewall.
- Choose the Advanced settings options and then highlight Inbound Rules in the left section of the screen;
- Now you need to right-click on Inbound Rules and then click on New Rule.
- Here, under the Rule type section, choose Port. Select TCP from the first set of radio buttons and then switch the second radio button to “Specific local ports.
- After this, you have to add the following ports in order to fix QuickBooks updating functionality:
- “QuickBooks Desktop 2018: 8019, 56728, 55378-55382”
- “QuickBooks Desktop 2017: 8019, 56727, 55373-55377”
- “QuickBooks Desktop 2016: 8019, 56726, 55368-55372”
- “QuickBooks Desktop 2015: 8019, 56725, 55363-55367”
- Make sure you use the right separator in the form of a comma right to the last one and click on Next once you have finished.
- Make a selection for the network type when you want to apply this rule;
- If you switch from one network connection to another frequently, it’s recommended that you keep all of the options checked before hitting Next;
- Name the rule, and then click on Finish;
- Do check that you repeat the same steps for Outbound Rules
To conclude, the QuickBooks Error Code H202 is pretty much a fixable issue. Provided that you follow the aforementioned steps carefully. Refer to this blog before every step you make, and you’ll be able to fix the issue easily.
Visit For More Info: Articlesdo

