Procedure to ij start canon configurar On Your Device
How to ij start canon configurar
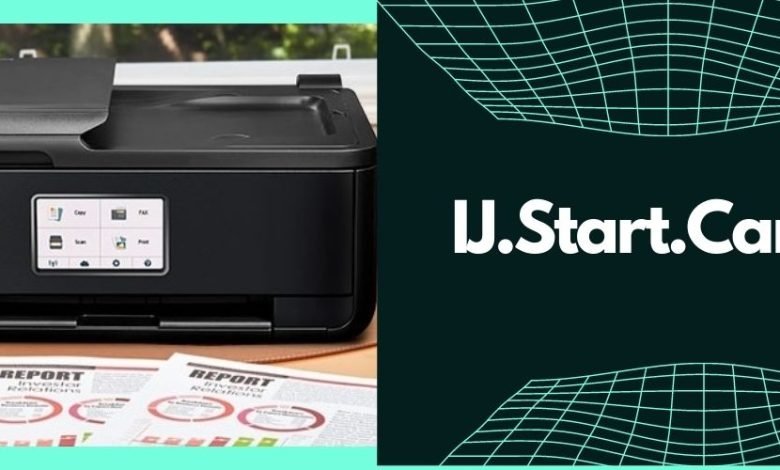
The Canon ij printer is an all-in-one solution for a variety of jobs, which you can master by using ij start canon and have a more enjoyable experience. It is Canon’s official online support site, which includes Canon product manuals, online functions, printer information, and more. Furthermore, the https //ij.start.canon configurar website includes Canon IJ setup download and installation instructions, which are required for the whole Canon setup process. Take a look at the additional actions listed below.
Basic Requirements for a Simple Canon IJ Setup
If this is your first time using an IJ Start Canon printer, you will need to complete Canon IJ Setup before printing, faxing, or scanning documents. It is strongly recommended that you connect your Canon printer to a wireless network and install the most recent version of printer software drivers on your Windows machine to enjoy the best printing experience. By doing so, you will be able to print, scan, and copy documents without interruption. We’ll walk you through some simple and effective instructions in this guide to help you ij.start.canon configurar your Start Canon Printer on your smartphone. The essential needs for your printer’s setup are listed below.
- Once you’ve completed the printer setup, keep the model number of your printer handy at all times.
- Make sure your PC or laptop has enough storage space so that the driver may be installed without difficulty.
- Check to see that the printer is correctly connected to the power outlet.
- Your internet connection is active and robust on your device.
- Check to see if the network you’re using supports the WPA or WPA2 security protocols.
The ij.start.cannon installation complete Guide
The newer Canon models do not have a CD; however, if you have an earlier model, you can install the CD; otherwise, follow the steps below to get Canon printer drivers using ij.start canon.
- Install software – Go to ij.start.canon and install the Canon driver.
- Install and Select connection type – Double-tap on the file to install it and choose between a WiFi or USB connection.
- Turn on the Canon printer – To turn on the printer, press the button.
- Connect WiFi – To connect to WiFi, press and hold the WiFI alert on a wireless connection.
- Flashing blue and green lamps – If you see flashing blue and green lights, it implies your printer is connected to the internet via WiFi.
- Accept the conditions of installation – Read and accept the Canon setup license terms in order to install.
- Complete the Canon Printer Setup — To complete the final step, tap Complete.
Setup Canon IJ Printer with USB
If you can’t find your Canon printer when visiting official websites or other websites, you can set up the Canon IJ printer with USB. You can also seek support at ij start canon configurar
- Make sure you have a USB cable on hand.
- Navigate to the ij.start Canon website in your internet browser and pick the option to set up network connections through USB.
- Then wait for the Canon application to connect your printer to your PC via USB cable.
- To get the driver for your printer, click Next. Also, consider whether you want to connect your printer to a particular network.
- Tap YES, then the Finish button, and finally the Add Printer option.
- Tap Add and go to the ij.start.cannon website to get the driver.
- Then pick the connection in Device settings, then LAN settings.
- Install Canon drivers, inkjet printer cartridges, and double-check your device’s connection.
- Install the Canon printer and print a test page.
Canon Printer Setup for Windows (IJ.Start.Canon)
Here’s how to wirelessly connect the Canon IJ Start printer to a Windows PC:
- To begin, go to the website ‘Canon.com/ijsetup’ and download and install your printer’s driver.
- The next step is to turn off your Canon printer and make sure it is linked to a power source.
- Then, go to the Download folder and double-tap on the driver setup file you just downloaded to start it in Windows.
- Again click “Next” and then “Next” until you see “Wireless Setup” as an option.
- Select “Wireless Setup” from the “Wireless Setup” menu, then go to your Canon printer’s screen and press the “Wi-Fi Setup” button.
- Tap the “OK” button after selecting your device’s settings.
- Then, in the order shown, select Device Settings > LAN Settings and click “OK” to confirm the “OK” button.
- After that, go to LAN settings > wireless LAN Setup and click “OK.” After that, the printer will search for an access point.
- Make sure your Wi-Fi router is turned on. The flash lamp in the printer will turn on if it is turned on.
- The network list will appear on the screen. Select your Wi-Fi network from the drop-down menu, then click “OK.”
- After that, you’ll be prompted to input your WPA/WEP security code (Wi-Fi password). Select “OK” after entering the proper password in the supplied field.
- Your printer will connect to the Wi-Fi network in a matter of minutes in a matter of minutes.
Congratulations! On the Windows system, the ij start canon configurar has been wirelessly configured. In articlesdo you an find more solution. printer is presently in fine working order and can produce high-quality prints.