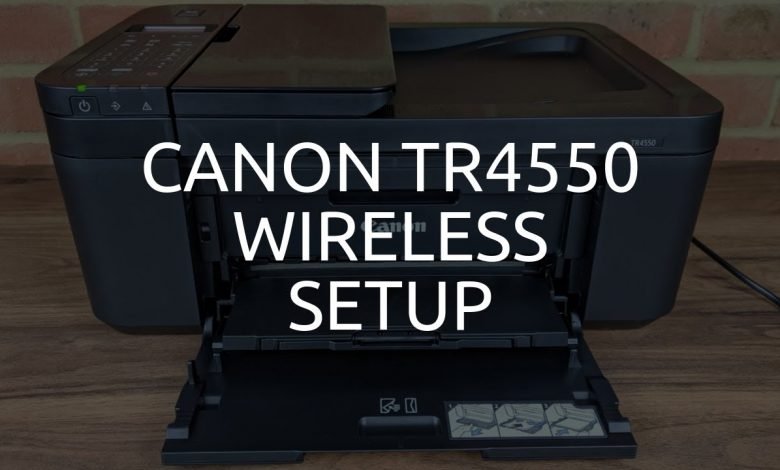
How Do I Setup My Canon Printer tr4500?
Since you are here, I am assuming that you have recently bought your canon tr4500 printer in the hope that your tasks are now going to be easy and whatnot. But the fun part is over once you realize that you are not able to set up your canon tr4500. You are eager to use it to copy, scan and print but how? You are unable to set up the printer. You are unable and tired too of trying a few methods.
Well, now you are at the right place. Worry not. This article is going to help you in setting up your canon tr4500 printer that too very easily. What you need to do is, go through the steps, one at a time. And please don’t get overwhelmed by looking at the number of steps. They are all very basic.
Now, let’s start the process of setting up the canon tr4500 printer.
Procedure to setup canon tr4500 printer are given below:
- First and foremost, to setup canon tr4500, connect the printer to a power outlet.
- Switch the printer On.
- Press the ‘Settings’ button which is given on the printer’s display panel.
- Look for ‘Device settings in the display window by changing the options using the arrow keys given on the panel of the printer. Press Ok once you find the device settings option.
- Now look for the ‘LAN settings’ option, again by using the arrow keys. Press Ok once you find it.
- Again use the arrow keys to find the option of ‘Wireless Direct’. Press Ok.
- Now look for the ‘Switch WL direct’ option. Press Ok.
- Now you will be asked to ‘Enable Wireless Direct’, Choose yes. Press ok.
- The display screen will now flash the message that ‘Wireless Router Info Done’.
- Now you need to enter the password and details of your router. For that click next And look for the ‘security Protocol’ option.
- A message would be displayed saying ‘ Do you want to display it, select Yes.
- The screen will display a password that you need to write down.
- Now from the app store, download the Canon printer application.
- Open the Wifi settings of your device.
- Look for the name of your printer in the devices you see. Click on that.
- Now is the need for the password that you wrote down in step 12. Enter the password carefully.
- Now open the canon printer application that we downloaded in step 13.
- Click on ‘Add a printer’. It will start searching for the printers available.
- It might take a couple of minutes, just have a little patience. The process is automatic. Once it’s done searching, it will ask you to confirm the name of the printer. Confirm it.
The setup of tr4500 is done. You can now use the printer to print your documents, pictures that too wirelessly. Now your canon tr4500 printer is setup and ready to scan, copy, and above all print.
You can also check if you facing an error: How do I fix error 5100 on my Canon printer?


I’ve been taking cbd oil for sale for a while now, and they’ve frankly been a game-changer as regards burden and sleep. The excellent part? No grogginess in the morning honourable a calm, mellow sensation up front bed. Gain, they taste tickety-boo, unlike some other supplements I’ve tried. I was skeptical at first, but after day by day using them, I can indubitably translate they help with unwinding after a great day. If you’re looking representing a unembellished personality to deject without any preternatural side effects, CBD gummies are significance trying. Honest provoke steadfast you get a quality tag with third-party testing!